I’ve been making animated gifs since the early days of the world wide web. In fact, I might even have made some before I ever accessed the web, I don’t really remember for sure. I just know this technology has been around for a long, long time and it makes me smile that people are still using them to communicate ideas.
This weekend, I’ve been making a few gifs for fun. I haven’t made any for a while, so I decided to make some just as a refresher. I have to say, it seems much easier now than it did back in the 1990s. I used Photoshop to make mine. I’m sure there are other ways as well, but Photoshop is a tool I have and like to use whenever I get a chance.
If you are just working from a video file, making an animated gif is a cinch in Photoshop. I made this gif of Jim Groom and Martha Burtis from a DS106 class video they recently made together. The video made me laugh, so I decided making a gif was in order.
♫ It’s the end of the world as we know it! ♫ @mburtis @jimgroom You guys rock! #ds106 pic.twitter.com/eBUhGR68SH
— Bill Genereux (@billgx) February 18, 2018
I downloaded the DS106 video from YouTube using the PwnYouTube bookmarklet. Over the years, this has been the best option I’ve come across for retrieving video content from YouTube. The file saved as a MP4 video that I then opened directly in Photoshop.
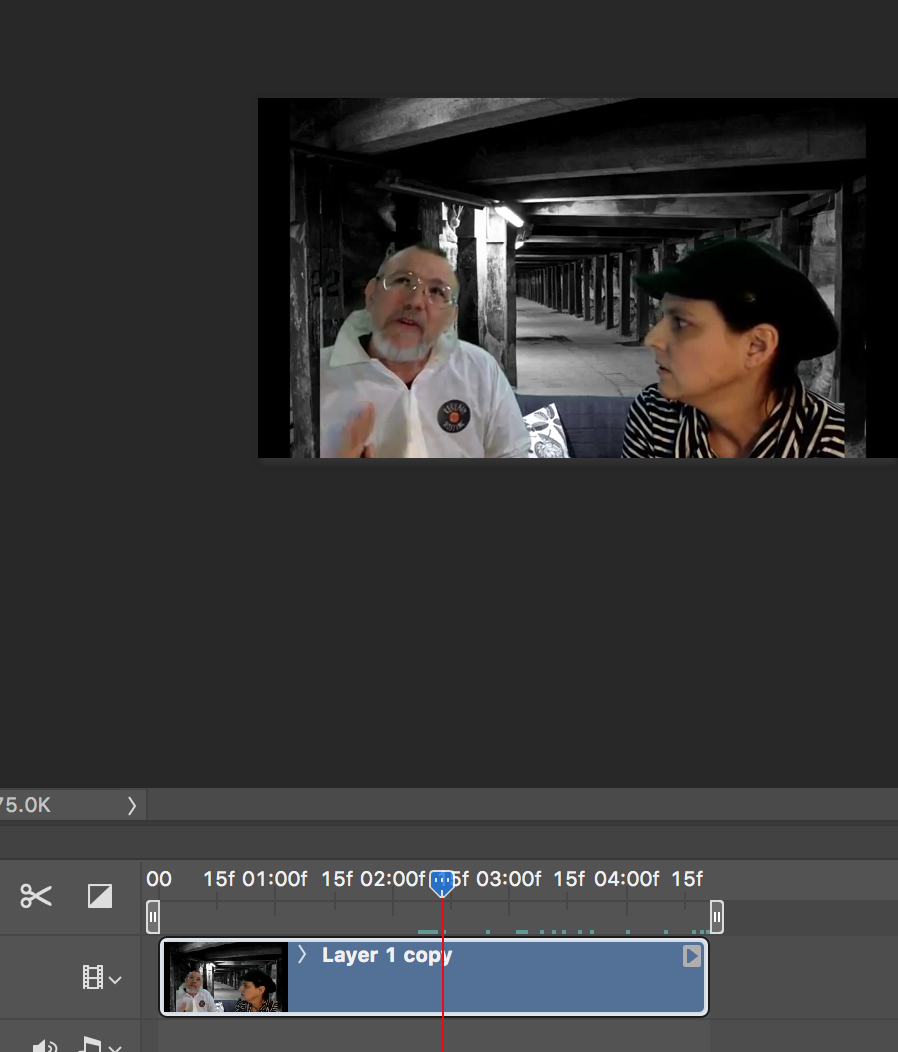
When you open a video in a recent version of Photoshop, it will display it with a timeline at the bottom. Editing was a breeze. Just move the playhead slider to the part where you want your clip to begin, then click the scissors tool on the left. Do it again at the end of your clip. Select the pieces of video before and after the clip you want to keep, and click the delete key on the keyboard. After that, you should have just the video you want to be in the gif.
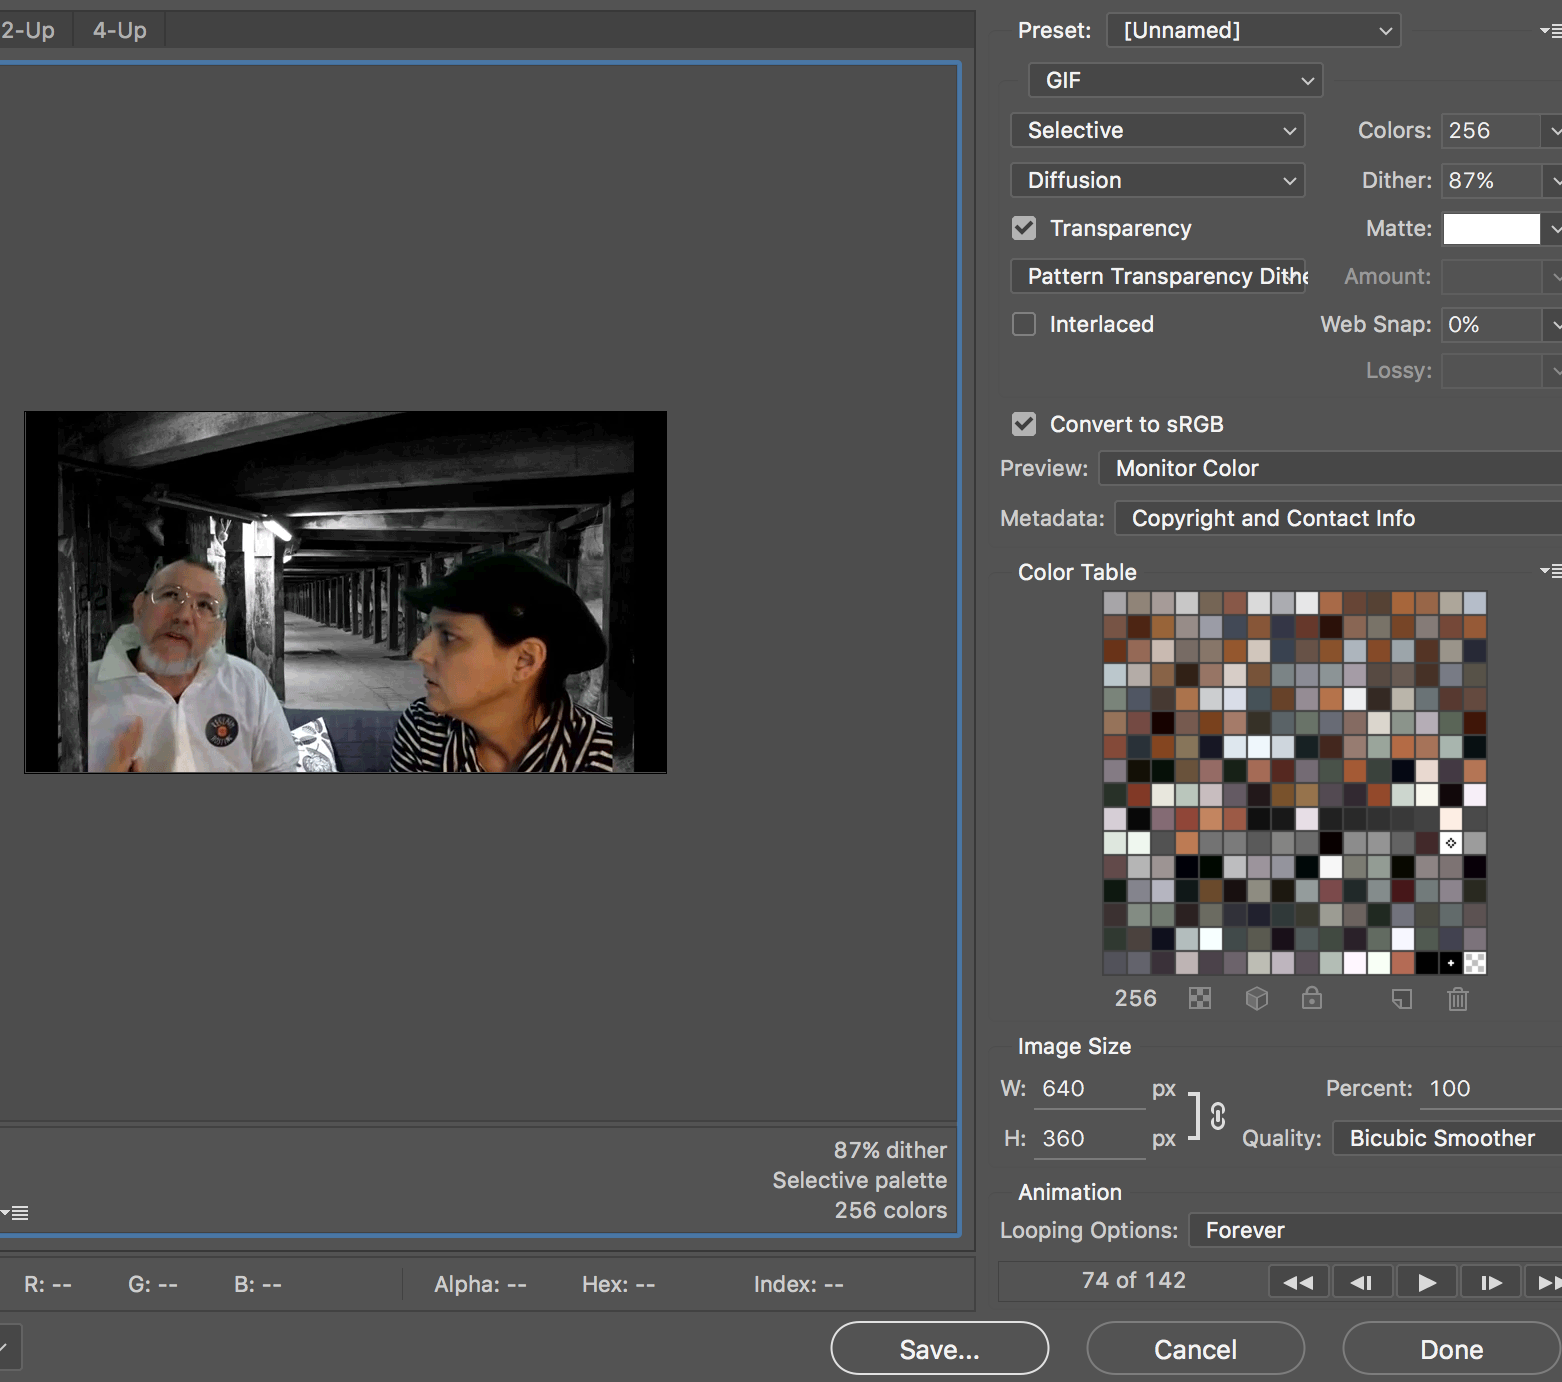
Click the file menu: File -> Export -> Save for Web (Legacy). A window opens that allows you to save the video as a GIF file. Be sure the GIF option is selected. Set Colors to 256. Set Dither to around 87%. Click Save, and give your file a name. That’s it! You made an animated Gif!